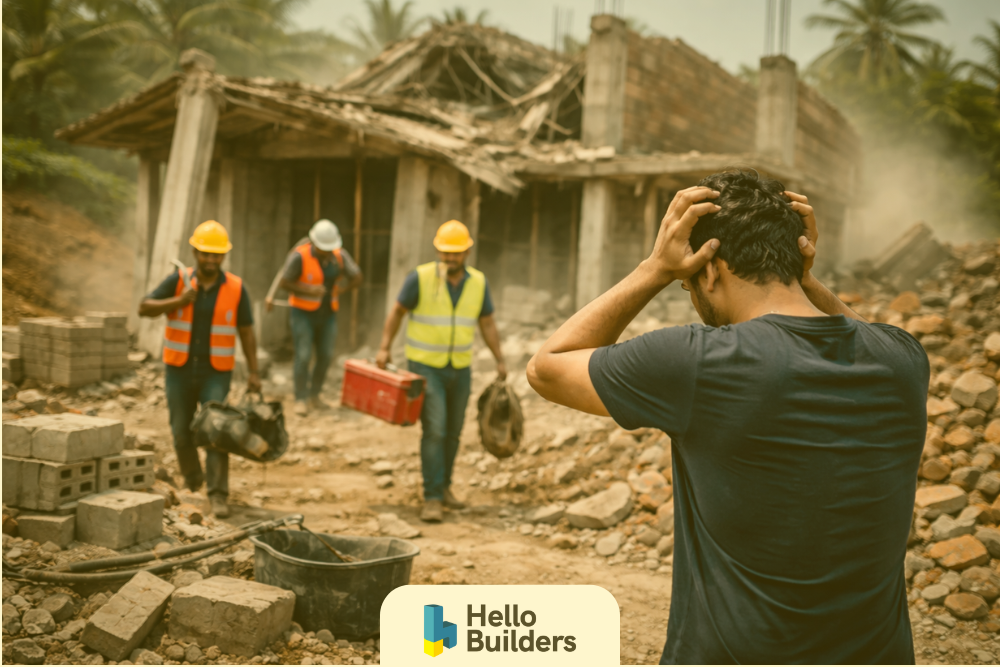
Building a house in Sri Lanka sounds exciting, and it really is, but it can also turn into a bit of a headache if you don’t get things straight from the start. One moment you’re dreaming about where the bedrooms will go, and the next you’re running around for approvals or wondering why the soil is too soft for the foundation you planned. Happens more often than people think. That’s where a Pre-Construction Checklist comes in handy—not something fancy, just a clear list to keep you on track.
Truth is, things are shifting in 2025. Prices keep bouncing, rules change depending on the area, and families want houses that are modern, but also practical and not too heavy on the bills. If you try to just “go with the flow,” you’ll probably end up spending more time and money than you expected. So yeah, before that first brick is set, planning isn’t optional—it’s survival.
Why this checklist matters
Think of a Pre-Construction Checklist as the map for your journey. Without it, you’ll wander through the process, reacting to problems as they pop up. With it, you’ll know exactly what comes next, how much it will cost, and what risks to avoid.
For house construction in Sri Lanka, this matters even more because the system can be unpredictable. Permits may take weeks, contractors sometimes over-promise, and weather has its own say in things. A checklist makes sure you’re not caught off guard by the basics: money, land, design, approvals, and the right people to build with.
Step 1: Get real about your budget
The very first thing is money. Everyone says they have a budget, but few actually map it out properly. Don’t just write down a lump sum. Break it into sections—land cost, design fees, permits, structural work, finishes, furniture, and those sneaky extras like landscaping or the gate.
One mistake people make is underestimating finishing costs. Tiles, lighting, doors, and paint usually end up higher than expected. Another is forgetting the small but constant expenses: transport to site, extra soil for filling, or temporary water and power connections. And please—set aside at least ten percent as a buffer. Prices shift, and when they do, you’ll be glad you kept a cushion.
Step 2: Sort out the approvals
Permits aren’t fun, but they’re necessary. In Sri Lanka, you’ll need to approach your local authority—whether it’s a municipal council, urban council, or pradeshiya sabha—for the basic building permit. If your land falls under the Urban Development Authority, expect another layer of clearance.
This is also the point to double-check your title deed and survey plan. You don’t want to start only to find there’s a boundary dispute or a road reservation cutting into your land. Yes, approvals can feel slow, but building without them is a nightmare. Imagine finishing your structure and then getting a stop-work order no one wants.
Step 3: Choose the right land
A house is only as good as the ground it stands on. Don’t just fall for the view or the location. Take the time to do a soil test so you know whether your foundations need to be shallow or deep. If the land floods during heavy rain, ask the neighbours they’ll tell you more than the seller will.
Also think about access. Can a lorry carrying sand or cement actually reach your site? You’d be surprised how many sites get stuck with delays simply because materials can’t come in easily. And don’t ignore the sun and wind. A little thought about orientation now will make your home brighter and cooler without relying too much on artificial lighting or AC later.
Step 4: Work on the design
This is the fun part, but also the one where early mistakes can cost you for decades. Sit with an architect who understands Sri Lankan climate and lifestyle. Open layouts, verandas for shade, deep eaves, and cross-ventilation aren’t just nice features—they’re practical for keeping the house cool and dry.
Engineers will also need to get involved for the structure and for services like plumbing and electrical layouts. Don’t skimp here. A sloppy drawing means endless changes later. These days, it’s worth asking for a 3D rendering or walkthrough. It’s easier to change a digital wall now than a concrete one later.
Step 5: Think carefully about materials
This is where costs can either spiral or be managed. In house construction in Sri Lanka, you’ll often face a choice between cheaper materials now or more durable ones that save headaches later. Concrete and steel must meet proper grades. Waterproofing in bathrooms and roofs is a must, not an afterthought.
For finishes, don’t just go with what looks good in the showroom. Think about maintenance. Glossy tiles in wet zones can turn slippery. Paint should be breathable, especially in coastal areas. Timber is beautiful but check if it’s treated properly, otherwise the humidity and termites will win.
The smart move is to create a clear specification list: standard, premium, or luxury. That way when contractors quote, you can compare apples to apples instead of vague “good quality” promises.
Step 6: Choose your builder wisely
This step can make or break the project. Don’t just grab the lowest bid. Look at what’s included, the timeline, and whether the builder offers warranties. Ask to see one of their current sites and a completed house. You’ll learn more from a quick walkaround than any brochure.
A solid contract is also essential. Agree on milestones tied to payments, keep a retention amount until after the defects period, and make sure changes are handled in writing before they happen. It sounds formal, but without it you’re basically gambling with your investment.
Step 7: Use technology to stay in control
Here’s something many people overlook: technology. With today’s tools, you don’t have to be on site every day to know what’s happening. Simple CCTV setups or weekly progress photos give you peace of mind. If you’re living abroad while building, this is even more important.
Some builders also use digital project management tools to share updates, approvals, and costs in real time. It might sound like overkill, but the transparency it creates helps avoid arguments later. When everyone sees the same data, there’s less room for confusion.
Step 8: Plan for the long term
Your checklist doesn’t end the day you move in. Houses need care, especially in our climate. Talk about warranties for structure and waterproofing up front. Some companies offer ten or even twenty years, which is worth the extra reassurance.
Also think about future plans. Maybe you’ll want to add a floor later, or convert a bedroom into a home office. Planning those possibilities during design makes life easier later on. And once you’ve settled in, stick to a maintenance routine: check the roof before monsoons, keep gutters clean, reseal woodwork when needed. It keeps small issues from becoming big repairs.
A quick recap of the checklist
- Budget properly and include a buffer.
- Get permits and legal documents in order.
- Test and evaluate the land.
- Finalize designs with professionals.
- Select durable materials with clear specs.
- Pick a reliable builder with strong contracts.
- Use tech for oversight and updates.
- Secure warranties and plan for maintenance.
Conclusion
Building a home is exciting, but without preparation it quickly becomes messy. A Pre-Construction Checklist brings order to the chaos. It forces you to think ahead, spend wisely, and avoid shortcuts that always cost more in the end.
For house construction in Sri Lanka, 2025 is both an opportunity and a challenge. Costs are rising, but design and technology options are also better than ever. If you take the time to cover these basics—budget, approvals, land, design, materials, the right builder, and long-term planning—you’ll give yourself the best chance of finishing not just a house, but a home you’re proud of.


